Note
Click here to download the full example code
Scenario 2 predefined target
Note
NDK and its examples are under constant development, more information and content will be added to this example soon!
This example demonstrates how to use one of the predefined targets of scenario 2.
The list of supported targets is:
import neurotechdevkit as ndk

scenario_2_2d_targets = (
    ndk.scenarios.built_in.Scenario2_2D.PREDEFINED_TARGET_OPTIONS.keys()
)
scenario_2_3d_targets = (
    ndk.scenarios.built_in.Scenario2_3D.PREDEFINED_TARGET_OPTIONS.keys()
)
print("2D predefined targets: \n\t", ", ".join(scenario_2_2d_targets), "\n\n")
print("3D predefined targets: \n\t", ", ".join(scenario_2_3d_targets), "\n\n")
Out:
2D predefined targets:
         primary-visual-cortex, right-inferior-frontal-gyrus, posterior-cingulate-cortex


3D predefined targets:
         primary-visual-cortex, right-inferior-frontal-gyrus, posterior-cingulate-cortex, ventral-intermediate-nucleus, left-temporal-lobe
Using one of the predefined targets is as simple as:
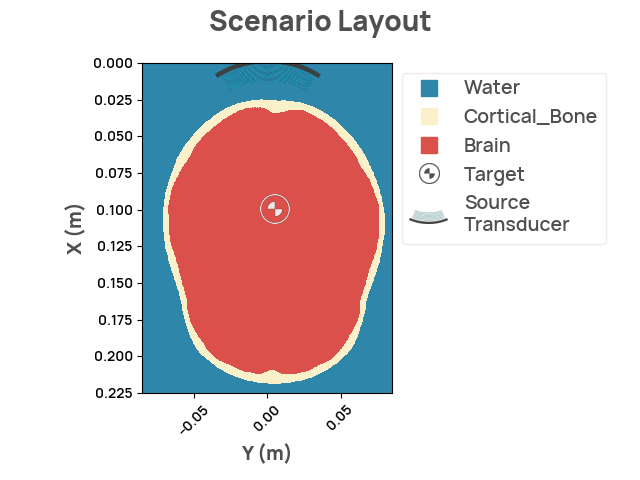
scenario = ndk.built_in.Scenario2_2D()
target_options = ndk.scenarios.built_in.Scenario2_2D.PREDEFINED_TARGET_OPTIONS
scenario.target = target_options["posterior-cingulate-cortex"]
scenario.make_grid()

scenario.render_layout()
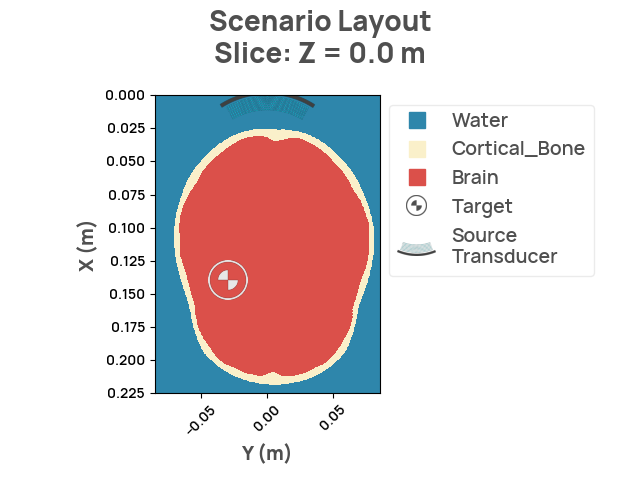
The same can be done for the 3D:
scenario_3d = ndk.built_in.Scenario2_3D()
target_options = ndk.scenarios.built_in.Scenario2_3D.PREDEFINED_TARGET_OPTIONS
scenario_3d.target = target_options["left-temporal-lobe"]
scenario_3d.make_grid()

scenario_3d.render_layout()
Total running time of the script: ( 0 minutes 17.823 seconds)
Download Python source code: plot_scenario2_predefined_target.py
Download Jupyter notebook: plot_scenario2_predefined_target.ipynb